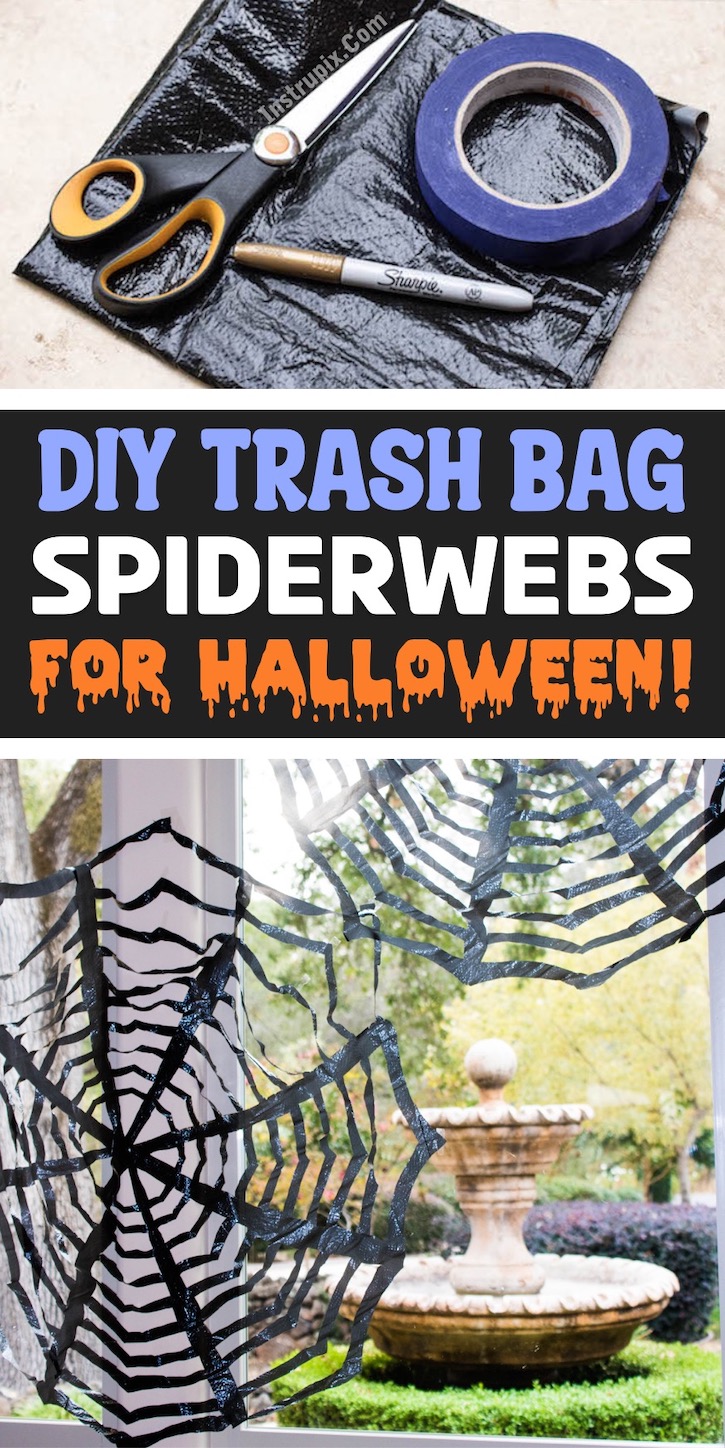
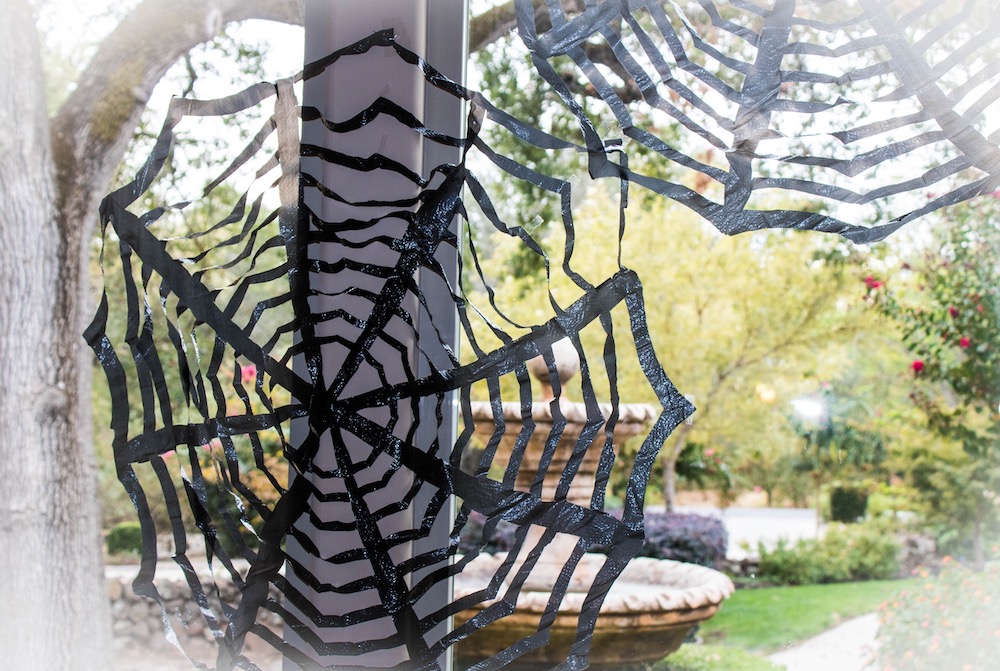
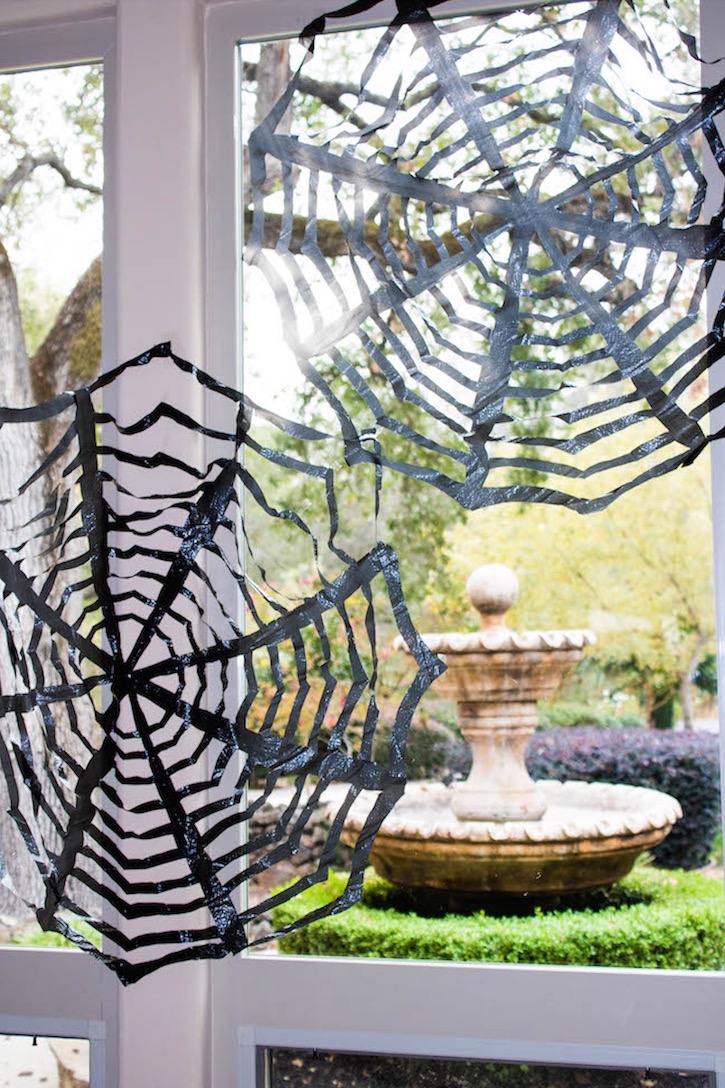
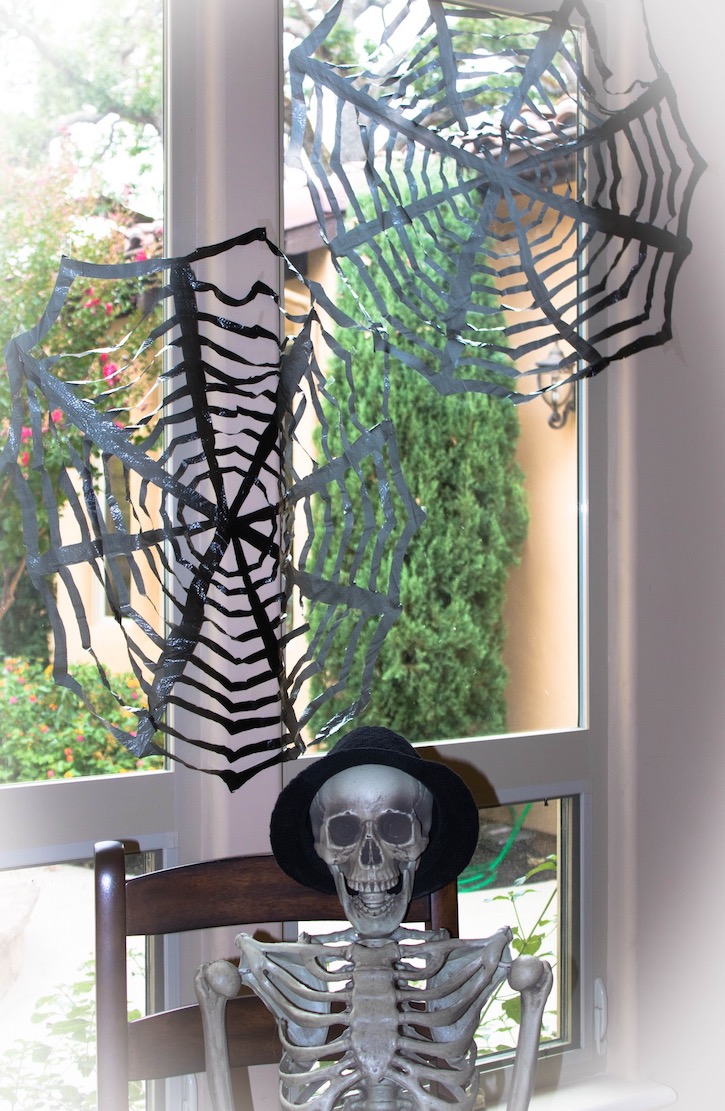
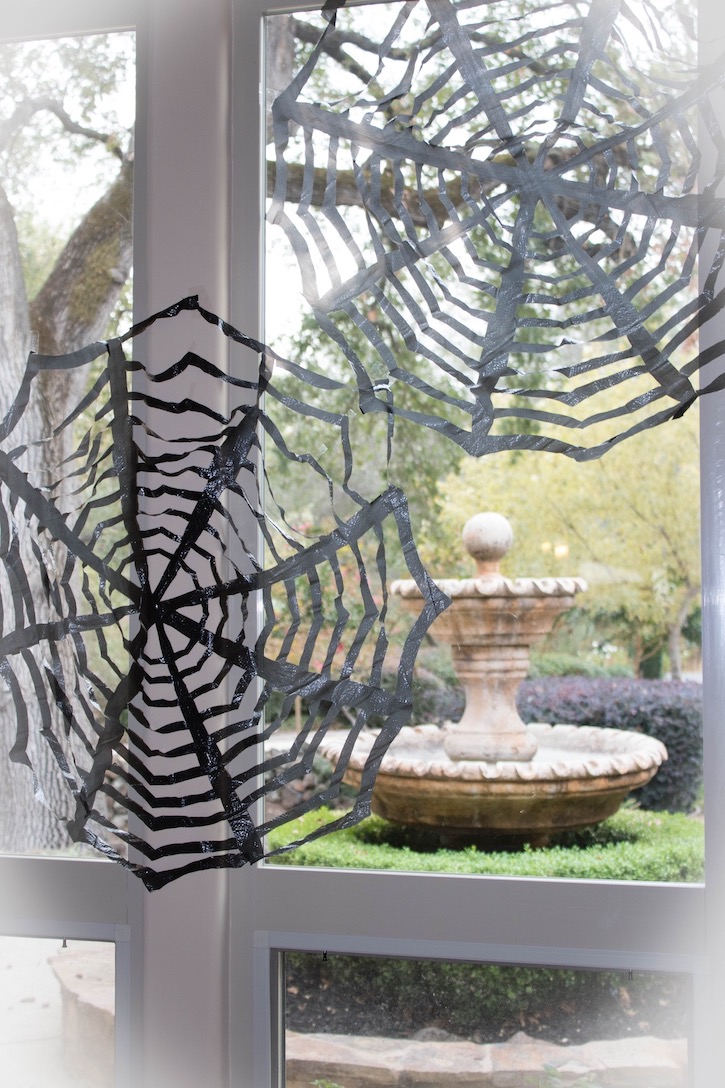
If you’re looking for cheap and easy Halloween decorations to make, these DIY trash bag spiderwebs are perfect for hanging just about anywhere in your house. I ended up draping them in my front windows so that they were part of both my indoor and outdoor decor. You could also add a few homemade or store-bought spiders to make them even creepier!
When trying to put the step-by-step tutorial for this project together, I found it very difficult to make it understandable in writing so I created a detailed pictorial along with a video. It’s actually a lot easier than it looks! The hardest part is cutting out the pattern once you have everything folded.
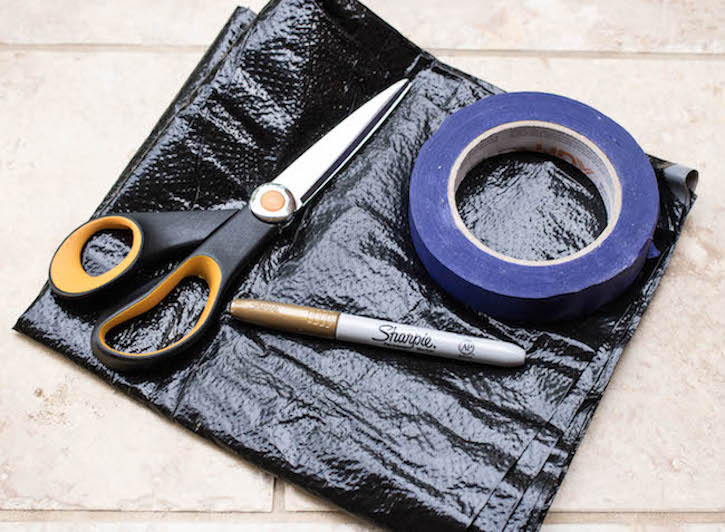
Supplies Needed
- A large black trash bag (I recommend a thin, cheaper bag with a grainy texture for easier cutting)
- Scissors
- A white or metallic permanent marker to draw the pattern
- Painter’s tape or any tape that is easy to remove
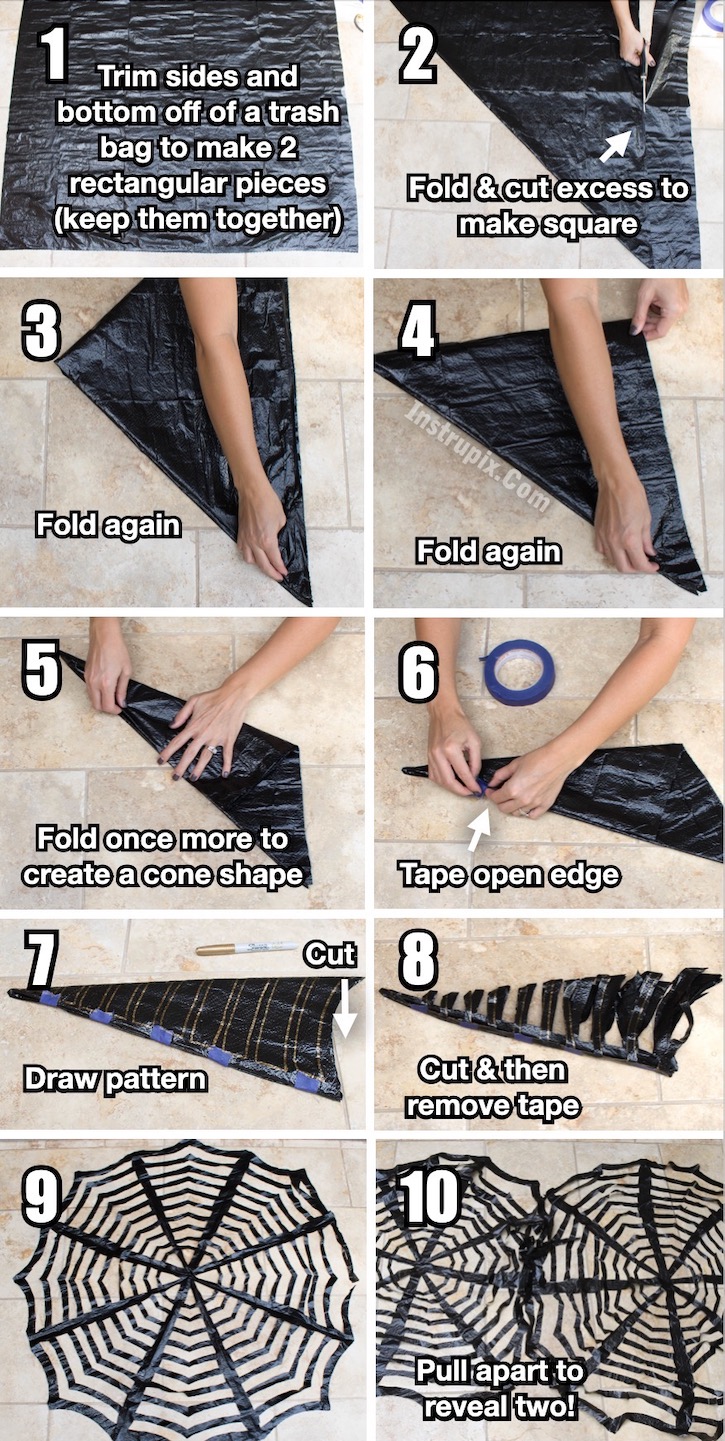
How To Make DIY Trash Bag Spiderwebs
- Trim the sealed edges off of the sides and bottom of your trash bag so that you have two attached rectangles. Unless your trash bag is too thick, keep them together so that you can cut both at once.
- Fold into a triangle and cut off the excess to make a perfect square.
- Next, fold into a smaller triangle, and then again into another smaller triangle.
- Fold once more to create what looks like a cone shape (you will have excess trash bag on the bottom).
- Tape together the open edge of the folded bag so that it will be easier to cut.
- Cut the excess plastic bag off of the bottom of your “cone” into a curved shape that resembles the rounded outer edges of the spider web.
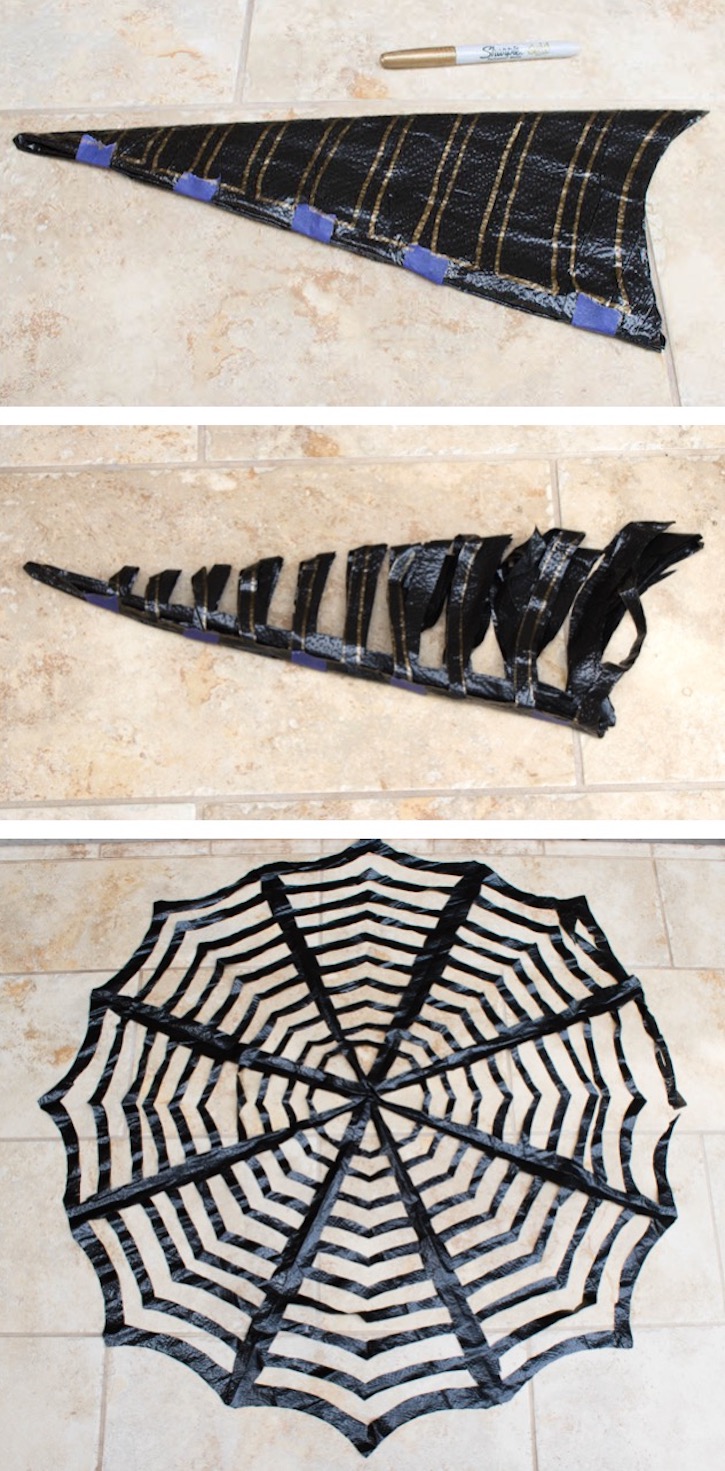
- Use a light colored permanent marker to draw the pattern shown below. You’re basically drawing long thick rectangles, only curving them to match the shape of the half-moon at the bottom of the bag.
- Carefully cut out your markings and then remove the tape.
- Unfold the bags and pull them apart, revealing two homemade spiderweb decorations. Happy Halloween!
Once finished, I simply used clear Scotch tape to hang them on my windows near the porch so that they could easily be seen by trick-or-treaters. Don’t forget to add some spiders for that extra eerie touch! You can make your own with fuzzy pipe cleaners and pom poms, or buy a cheap pack on Amazon.
Now, sit back and watch as your DIY spiderwebs cast chilling shadows in the moonlight, creating the perfect atmosphere for a frightful Halloween night. It’s a budget-friendly and creative way to embrace the spirit of the season!
Happy Halloween! Don’t forget to pin and save this cheap and easy DIY Halloween decor for later. 🙂